Posts

Showing posts with the label DIY projects

Upholstered Headboard Tutorial

Image
Howdy!  I'm currently working on redesigning our oldest son's room and have several projects in the works.  The biggest one is this upholstered headboard that I just finished up today.  His bed is a full size but it doesn't have a headboard so I spent several days drawing up what I had in my head and then got to work on it today.  It's not ready to go in his room yet but I wanted to share it with you anyway, as well as, the instructions for how I put it together in case anyone would like to make one. It wasn't hard, just time consuming.  I started by buying a piece of 3/4 inch thick subfloor/plywood at Lowe's.  I was feeling lazy so I asked them to cut it to size for me, which they did at no extra charge.  The size of the plywood part is 53 inches x 3 feet tall.  With the legs on the bottom, the total height is 4 feet.  I bought 3 - 1 x 3's to attach to the back of the plywood as shown in the photo below. Next, I laid high loft quilt batting ...

DIY Christmas Gift Tags

Image
Happy Monday to you!  Although I wouldn't actually call a Monday a happy day, it's a short week and Thanksgiving week, too!  I don't know about you, but that makes me pretty happy. Tis the season, it's almost gift giving time, one of my favorite things to do ever, and that means lots of possibilities for pretty packaging.   When I saw these oh so cute vintage school styled gift tags at Anthropologie , I just knew there could be a way to DIY them.  So how lucky was it that I came across this easy tutorial for them over at Flamingo Toes .  It's super simple and cheap, my kind of project, so I spent an evening whipping these things up and I just LOVE them!  Here's my version..... All you need is card stock, red thread, blue thread and thin hemp twine, or whatever kind of twine you prefer.  Flamingo Toes even provides you with a template to print off to make it easier.  For teacher and coach appreciation gifts, I picked up these fun kraft gable ...

Reclaimed Flooring End Tables and a $50 Giveaway!

Image
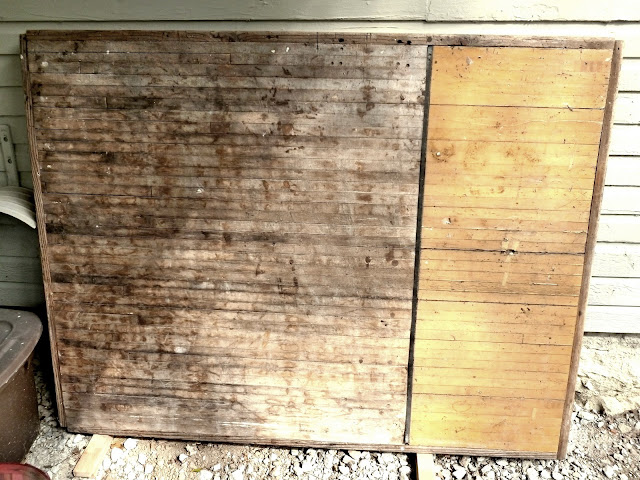
Hey there!  I'm so excited about today's post because I LOVE giveaways!   More on that below. First, I want to show you a project we worked on over the weekend using the remaining section of this reclaimed bowling alley flooring leftover from our coffee table project . I was afraid it was going to go to waste because I had decorators block and couldn't come up with anything to do with it, until hubby came home with a pair of these amazing iron nesting tables that he found.  The scroll work isn't my cup of tea, but, I knew we could remove that somehow. Because I'm unorganized and get in a hurry when working on these things, the pic is just of one of the tables and I forgot to take pics as we worked.  To remove the scroll work, we just used a jig saw with a blade for steel cutting (and eye protection, there were plenty of sparks) and then I sanded down any sharp edges with sandpaper.  I liked the aged roughed up look of the iron tables so I just left the...

Amore Sign

Image
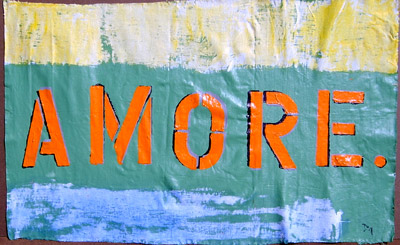
Hey there!  I worked on a little project over the weekend that I wanted to share.  I've been crazy about this painting ever since I first saw it a few years ago.  And even though I love it, it's just a little too modern for the decor in our home.  So, I created my own version that is a little more us. I  I started by cutting down 1 x 4's to a 3 foot length, laying them side by side and attaching with supportive beams in the back that were made from the left over pieces that were cut off.  I attached everything with screws in the back.   Then I stained the entire piece with Minwax special walnut stain and let dry. Next, I printed out the letters from a word program on my computer.  I don't remember the name of the font but I enlarged it to around 700 so it would fill the entire page.  I cut them out and used the cut out letters as a stencil.  I placed the letters where I wanted them and then, using a stencil brush, painted around the...