Happy Friday! I don't know about you but I'm so ready for the weekend. Today I wanted to blog about a few cool pieces my hubby picked up at an auction last weekend. The first is this amazing 100 year old Hobart industrial coffee grinder. This thing weighs around 90 pounds! And the best thing is that it works perfectly. I had asked my hubby to keep an eye out for a cool vintage coffee grinder for our shop because we are wanting to have coffee available to our customers and I thought it would be really fun to freshly grind the beans in a vintage mill. Then he came home with this beauty and I'm not sure I'm going to be able to give it up. :) I love the lines..... Another piece he brought home is this steamer trunk. We've always wanted one and he loved this one. It needs a few minor repairs but I can't wait to find a special place for it. And he also found these vintage wool Navy blankets. They are so soft, ...
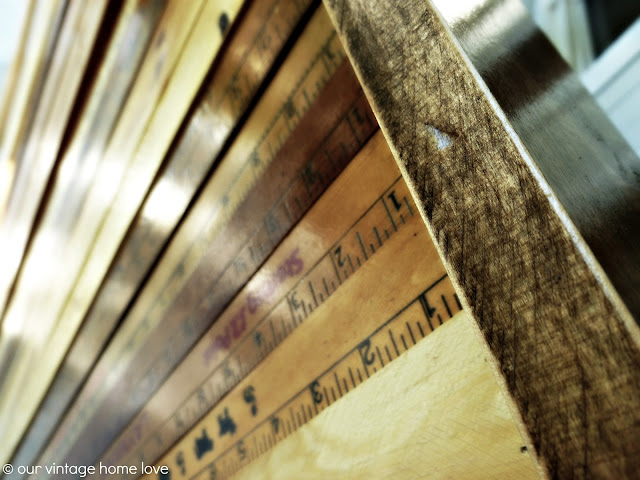
Hey there! We are in the process of redoing our boys' rooms upstairs and this past week, I worked on several projects for little guy's room. I was so happy with how they turned out, but it sure didn't start out that way. I have a tendency to get in a hurry when working on projects, because usually I have other things to do like laundry, dinner, and being a mom and wife, so I get in a hurry and do things wrong only to have to go back and redo. Not fun. First up was this headboard I made for his room using our collection of vintage yardsticks. I started out by building a simple frame using 1 x 2's and attaching the yardsticks to the front of the frame. Because I didn't want to use all yardsticks, I also used groups of lattice strips that I already had from a previous project. Originally, I stained those strips of lattice with Minwax special walnut stain. But I didn't love it and it didn't look right. ...
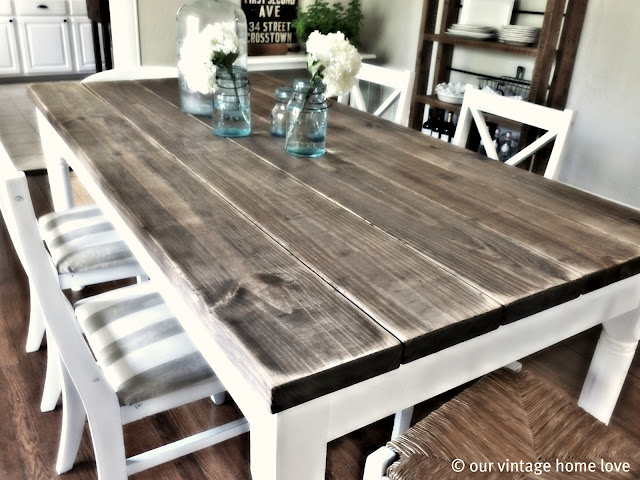
Hey there! I've received a number of emails lately asking how I built my dining room table or how I attached the top to the dining room table I already had. So I decided to do a tutorial for all those who asked. I didn't take any pictures when I did it so I took pictures of the under side of the table, which many of you have asked for, and will do my best to explain each step. As I mentioned in that post, I used pine 2 x 8's. After I distressed the boards, process discussed here , I laid them together evenly and attached wood brackets to keep them all together. As mentioned, I already had a dining room table, I just didn't like the top, so I removed it and was left with the base. Now, the previous table was also built by me using the table legs that my dad turned himself before he died. I created the apron (sides) with pine 1 x 5's and attached them to the legs with "L" brackets, as pointed out with arrows. To make them a little more stable, I...


Comments
Post a Comment