Posts

Showing posts from July, 2015

Tim Holtz Butterfly Frenzy Sizzix Card in a Box
Image
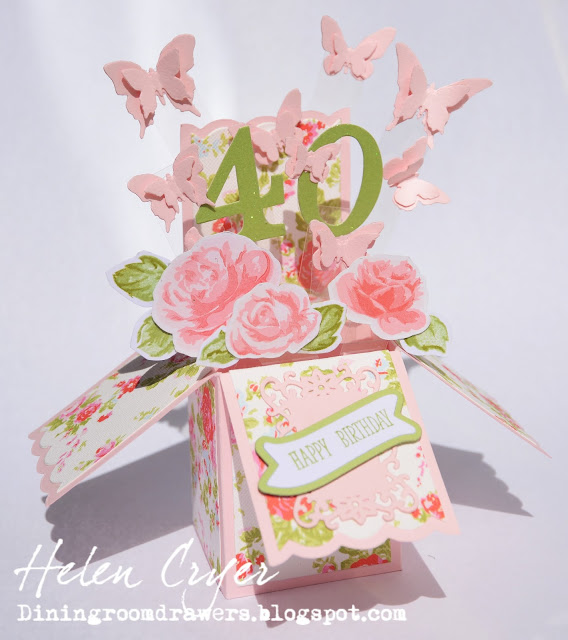
I have a new favourite die! - the Card in a Box from Sizzix  - it's really quick to put together, and includes the layer pieces, and inner divider pieces too (plus clouds, banner and windmills!) For this version, I added floral papers from First Edition's Floral Pavilion pad, then on one of the flaps I added a Spellbinders frame die, and layered it with banners from the new Sizzix Alphabet Banners set. To decorate the box, I added a glitter card '40' (cut with a Stampin' Up Sizzix Alphabet die set), which I glued to acetate, and attached to one of the inner dividers with tape runner. I used Altenew 'Vintage Roses' stamps, hand cut them out, and attached them on acetate strips too. Finally, I also added the Tim Holtz butterflies on acetate strips. This picture shows the inner dividers better. It's actually quite a simple card, but I think it looks effective. Product Links:    
Sizzix Banners & Flip-its Cards

Image
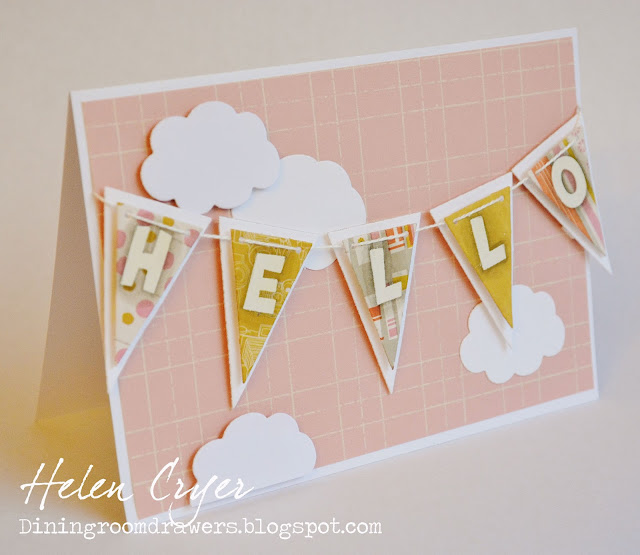
I absolutely love the new 'Alphabet Banners' Die and Stamps set from Sizzix - I like how each of the banners has little holes for twine, plus a perfect shadow die too. For this card I stamped the letters (from the stamp set which comes in the package) with VersaMark ink, and heat embossed white embossing powder. The clouds are from the Hello Sunshine Triplits set, also from Sizzix. This card uses the Regal Flip-its die set, along with gorgeous little flowers from the Sizzix Friends Forever Step-ups Card die set, and a tag and stamp from Sizzix's new Framelits Die and Clear Acrylic Stamp Set - Tags and Words. Product Links:    

Homegrown Holidays - Karen Burniston's July Designer Challenge Card

Image
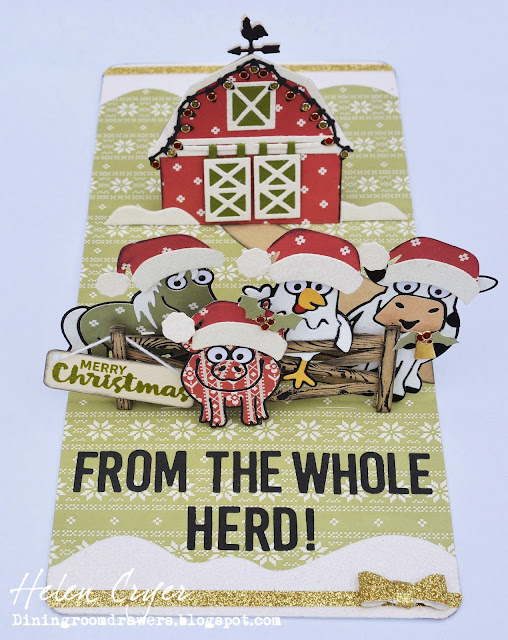
 This month our challenge theme is 'Homegrown Holidays' - to celebrate Christmas on the Farm! Karen Burniston has just announced the release of two fantastic new collections for Elizabeth Craft Designs : Farm 2, and Merry and Bright, and we're combining them for this challenge! For my card, I decided to make a double Pop Stand, by taking a long piece of cardstock, folding it into thirds, and adding the Barn Pop Stand to the back fold, and the newly announced Fence Pop Stand to the front fold. This is my card without the animals added. I used a die from the Beach Edges set to cut large snow drifts for the top and bottom of the card, to which I added gold glitter card strips and a hand made bow. I added the barn parts, along with Christmas lights from the Holiday House die set, which I decorated with Glitter Dot stickers. I also added two small snow drifts with a die from the Garden Bench set. I stamped woodgrain (with a Stampin' Up stamp) onto the Fence parts, and assem...

Bon Voyage Pivot Card

Image
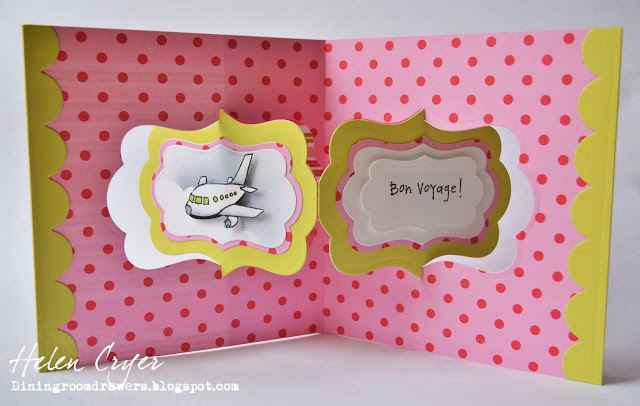
Just a nice simple Pop It Ups Pivot card today, with stamps from Purple Onion Designs. I used the Katie Label Pivot Card die with thick patterned cardstock, and used the same die set to cut the layers on the pivoting parts. I coloured the stamped image with Copics, and cut it out by hand, then used some stamping mask paper to cut out a clouds outline, and airbrushed grey Copic marker for the sky. I stuck on the plane with foam pads, and added some extra cardstock to the outside of the card to cover over the gap left by the pivoting parts. Product Links:    

Sizzix Circle Flip-its, with Hello Sunshine and Spring Birds Triplets Cards

Image
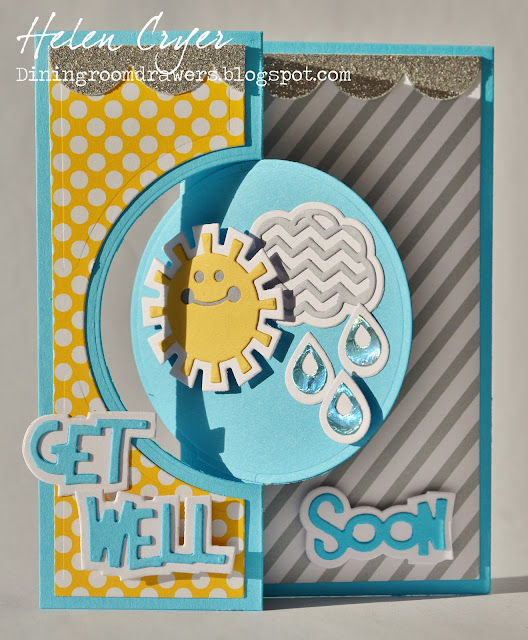
I have a couple of cards to share today which I made using some of Stephanie Barnard's latest die releases for Sizzix. This first card uses the Circle Flip-its #4, along with the Hello Sunshine Triplets set. The layered words come in the Circle Flip-its die set. My second card uses the sun and clouds from the Hello Sunshine Triplets set, with words and bird from the Spring Birds Triplets set. The heart background is from the Sizzix Framelits 'Card with Lovely Sentiments Drop-ins' die set. Product Links:    

Purple Onion Design Bunny Circle Accordion Card

Image
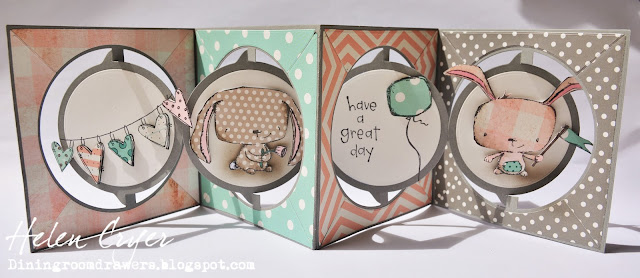
I love this combination of Purple Onion Design stamps on a Pop It Ups Circle Accordion card! I mainly used My Mind's Eye 'Sky's the Limit' papers. I used a die from the Square w/Circle Frame Edges set to cut the patterned paper borders. I backed the patterned paper with Elizabeth Craft Design Double Sided Tape, to make it really easy to adhere. For the first panel, I stamped the heart bunting, and fussy cut patterned paper, sticking the hearts on with small foam pads. For the second panel, I stamped the image on patterned paper, cut it out and stuck it on with small foam pads. I used the Copic spraypaint system to add some shadow first. I used the same techniques for the third and fourth panels. Product Links:    

Pop It Ups Rectangle Pull Card with Purple Onion Design Bird Cage

Image
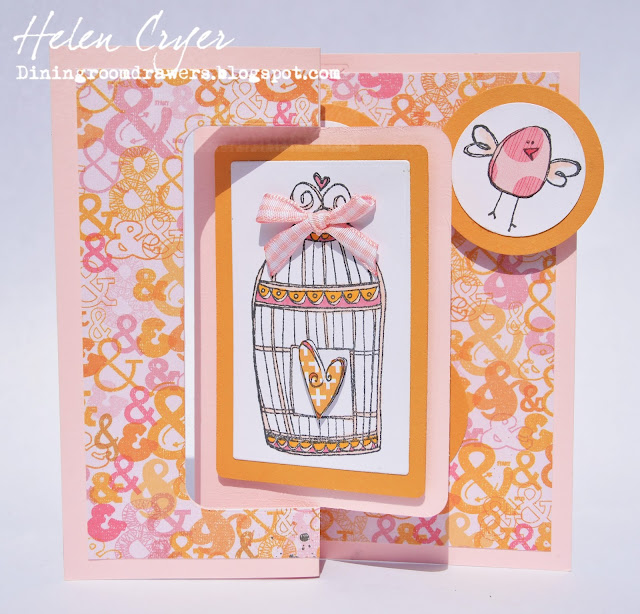
I used the Pop It Ups Rectangle Pull Card to cut a pale pink card base, and used the die again for a patterned paper layer, which I trimmed down to fit. I used rectangle dies from the Accordion Rectangle die set to create the orange and white layers for the card front, and for inside the card. The stamps are from this set from Purple Onion Designs. I used circle punches for the backgrounds for the birds and attached one of them to the pivot piece from the die set, so that it 'flies' a bit when the card opens. I coloured the birdcage with Copics, and fussy cut patterned paper for the birds' bodies. I added a fussy cut patterned paper heart to the cage and glued on ribbon. Product links: